Overview
Send Mailgun emails through Courier with full support for overrides, attachments, and real-time delivery status.
Profile Requirements
Courier uses theemail key in the recipient profile to send messages through Mailgun.
Override Configuration
Use theoverride object to customize the payload sent to Mailgun’s Messages API. Example: add a Mailgun tag.
override.
To customize the fromAddress or other Mailgun config options, set them under override.config.
Refer to the Mailgun API docs for supported parameters.
To send through Mailgun’s EU region, set the
host value to api.eu.mailgun.net.Attachments
To include attachments, add anattachment array in the override. File content must be base64-encoded.
IP Allowlisting
Mailgun supports IP allowlists for API access. Courier runs on AWS and doesn’t use fixed outbound IPs. To manage this, AWS provides a workaround:Subscribe to the
AmazonIpSpaceChanged SNS topic. You’ll get notified whenever AWS updates its IP ranges, so you can update your allowlist accordingly.
Webhooks for Delivery Status
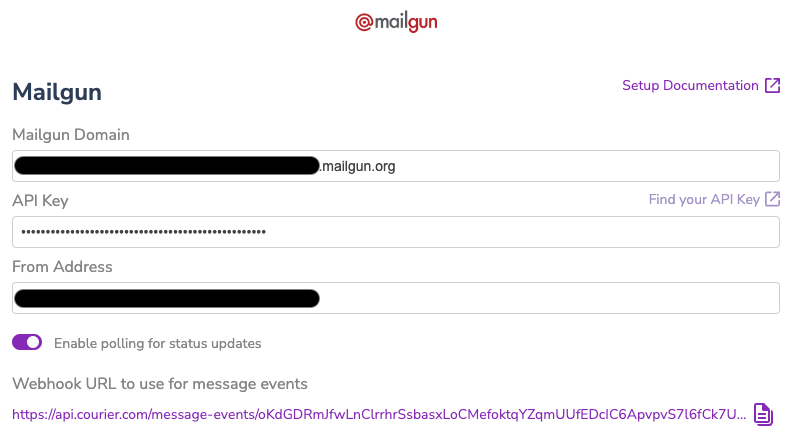
Courier polls Mailgun for status by default. To get real-time delivery updates, set up Mailgun webhooks.1
Copy the Courier Webhook URL
In Courier, go to the Mailgun configuration page. Copy the generated Webhook URL.

2
Configure Webhooks in Mailgun
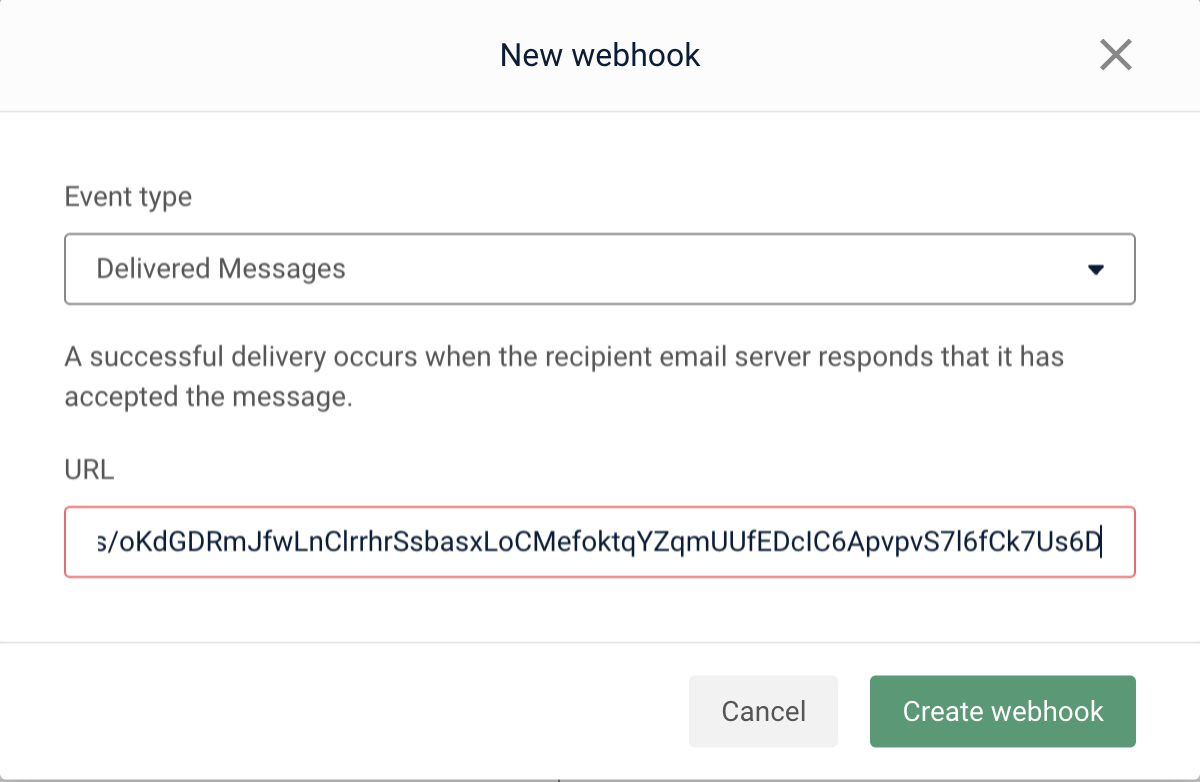
In Mailgun, navigate to Sending → Webhooks.
Add a webhook for Delivered Messages, and paste the URL.
Repeat for Permanent Failure.

Add a webhook for Delivered Messages, and paste the URL.
Repeat for Permanent Failure.


3
Match the Domain
In Mailgun, ensure the selected domain matches the one configured in Courier.
4
Disable Polling (optional)
After ~1 hour (to allow in-flight updates), disable polling in Courier under Enable polling for status updates, then click Save.
Troubleshooting
550 Error – Missing MX Record
550 Error – Missing MX Record
Mailgun returns a 550 error when the sending domain doesn’t have an MX record.
Add an MX record to your domain’s DNS. Wait ~2 hours for propagation.
Account Throttling or Probation
Account Throttling or Probation
Mailgun may throttle or suspend delivery for accounts with high bounce/spam rates or traffic spikes.
- Complete Mailgun’s Business Verification.
- Remove addresses that bounce consistently. Avoid bulk sends to unverified users.
Use Courier Logs to investigate delivery issues.
Need help? Contact Courier Support.
Need help? Contact Courier Support.